I love discovering new design tools and techniques. And sometimes, when I do, I like to share them. For a while, I thought there were only two or three ways to convert to black and white, and that one of those ways was pretty much, everyone agreed, totally lame. Turns out, there’s at least eight. Here are four.
For the purpose of these tips, I’m assuming you’re an intuitive beginner at Photoshop and have already sorted out the layers panel. I’m also guessing you have a fairly recent version—CS3 or better.
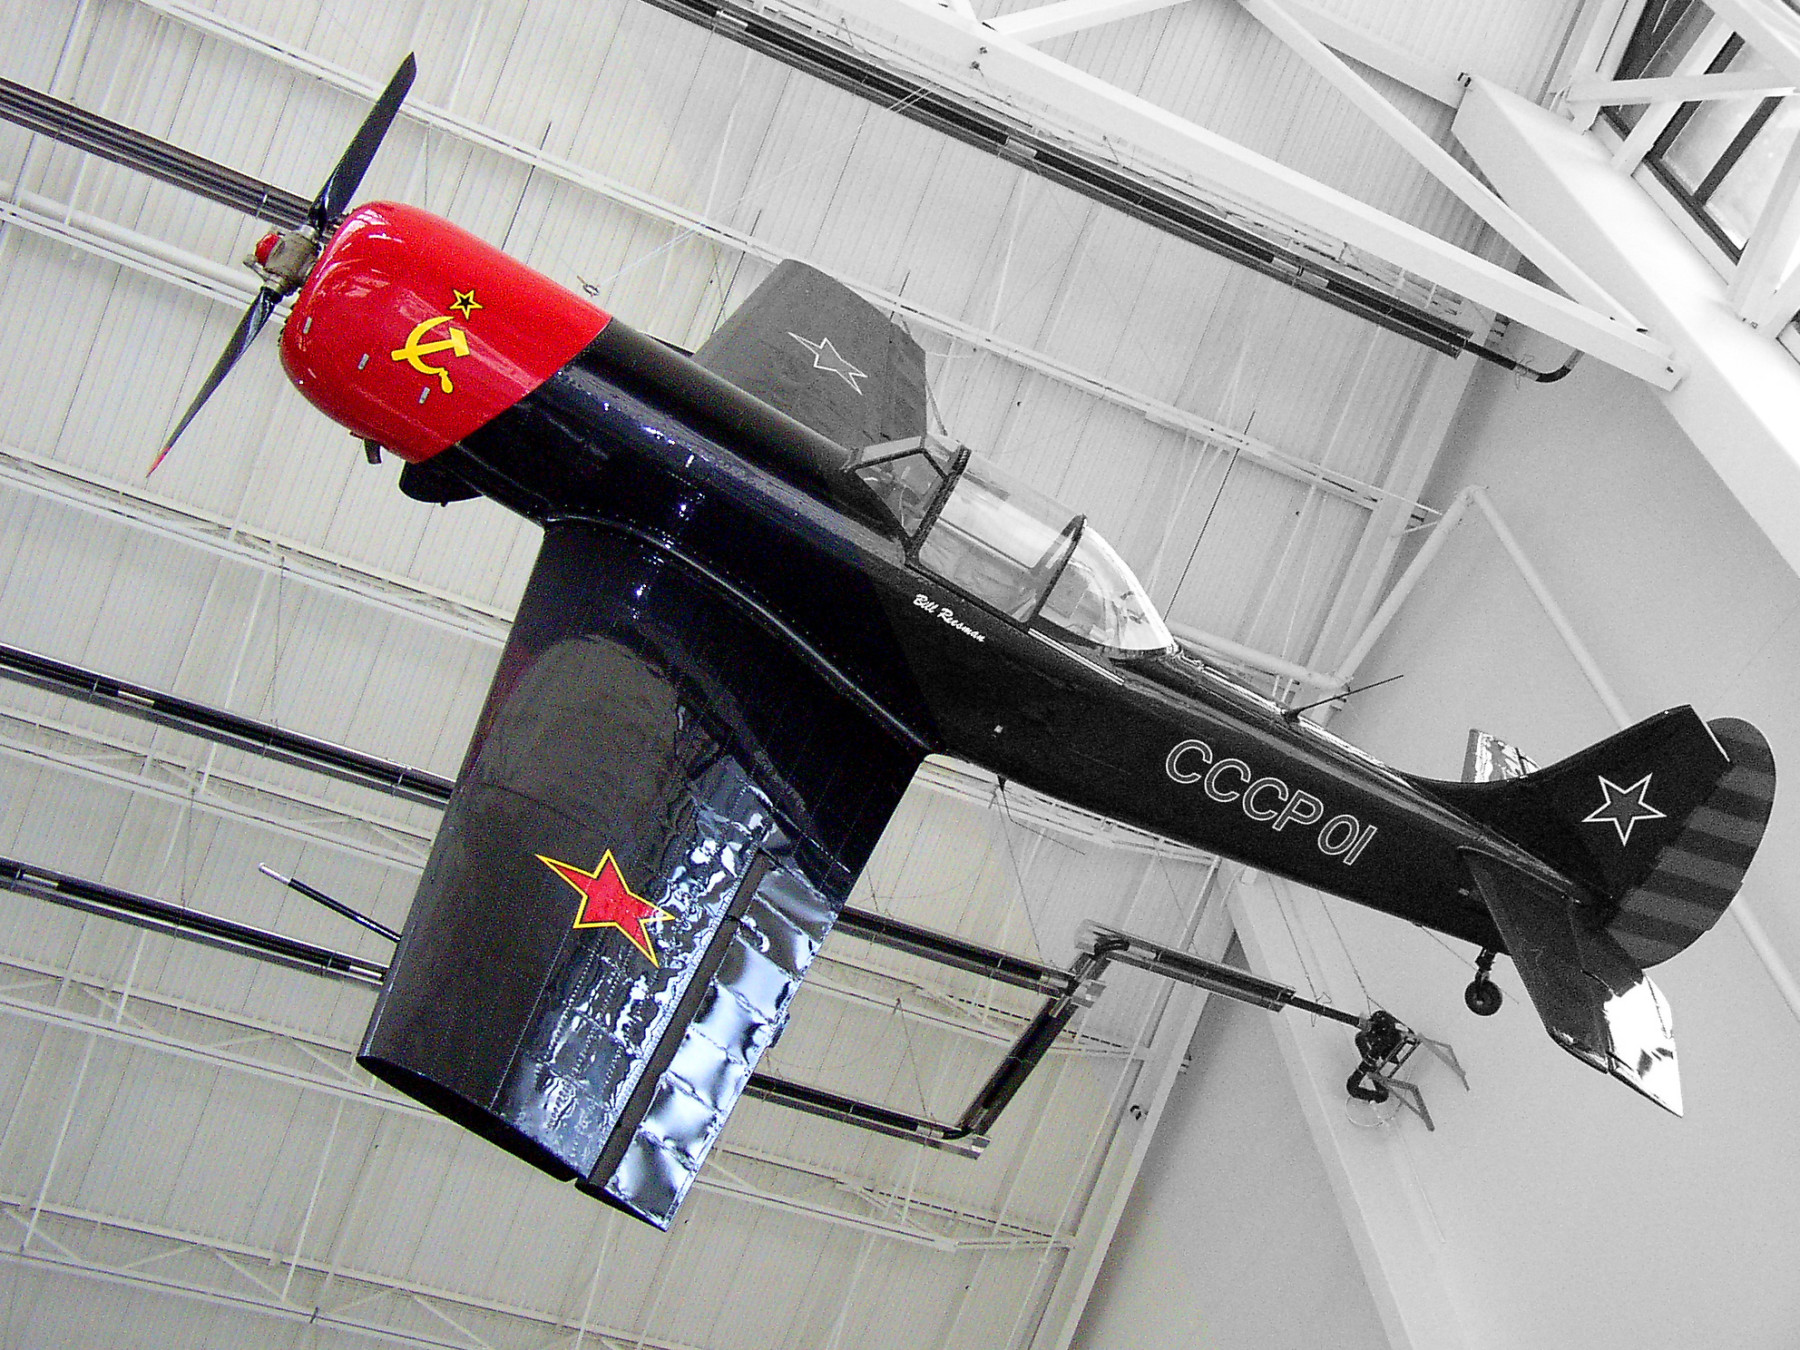
I got the side-by-side effect by deleting a selection from the adjustment layer.
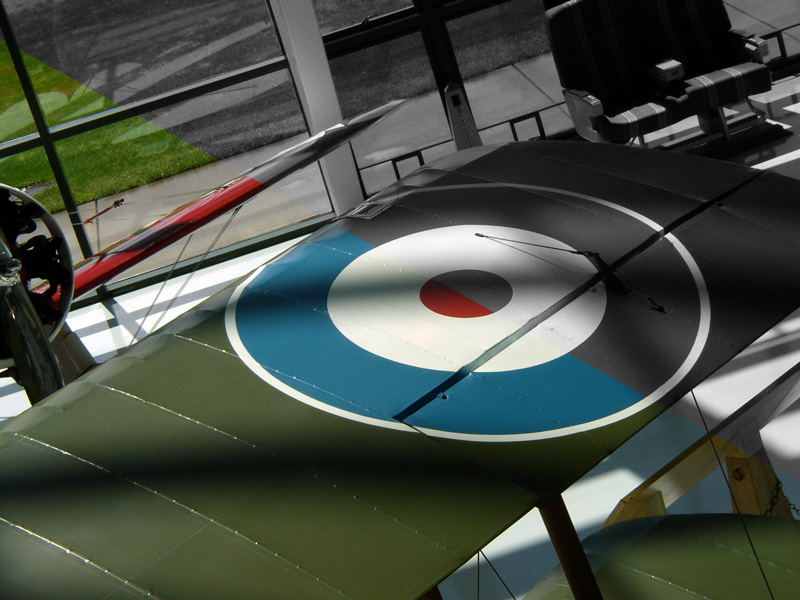
My favorite method is the Black and White adjustment. Add a B&W adjustment layer (either from the layer menu up top, or the row of icons at the bottom of the layers panel [the half moon]) above your color image, and start setting those six sliders where you want them. You have tons of control here, you can get some nice effects. But beware, you can also get some weird, blown-out details, and graininess. The red and blue on this plane’s wing were of particular focus for me as I made my adjustments.
This photo was taken at the Evergreen Aviation Museum in McMinnville, Oregon.
I’ve also used the Channel Mixer, though you don’t have quite as much control over the tones—there’s only three sliders. Again, it’s a new adjustment layer, and when the box comes up, you’ll tick the ‘monochrome’ check box, and make sure your three values are always adding up to 100% as you fiddle with the sliders. This will do in a pinch, especially if you just don’t have time to make fine adjustments.
Gradient maps are useful for more than just black and white.
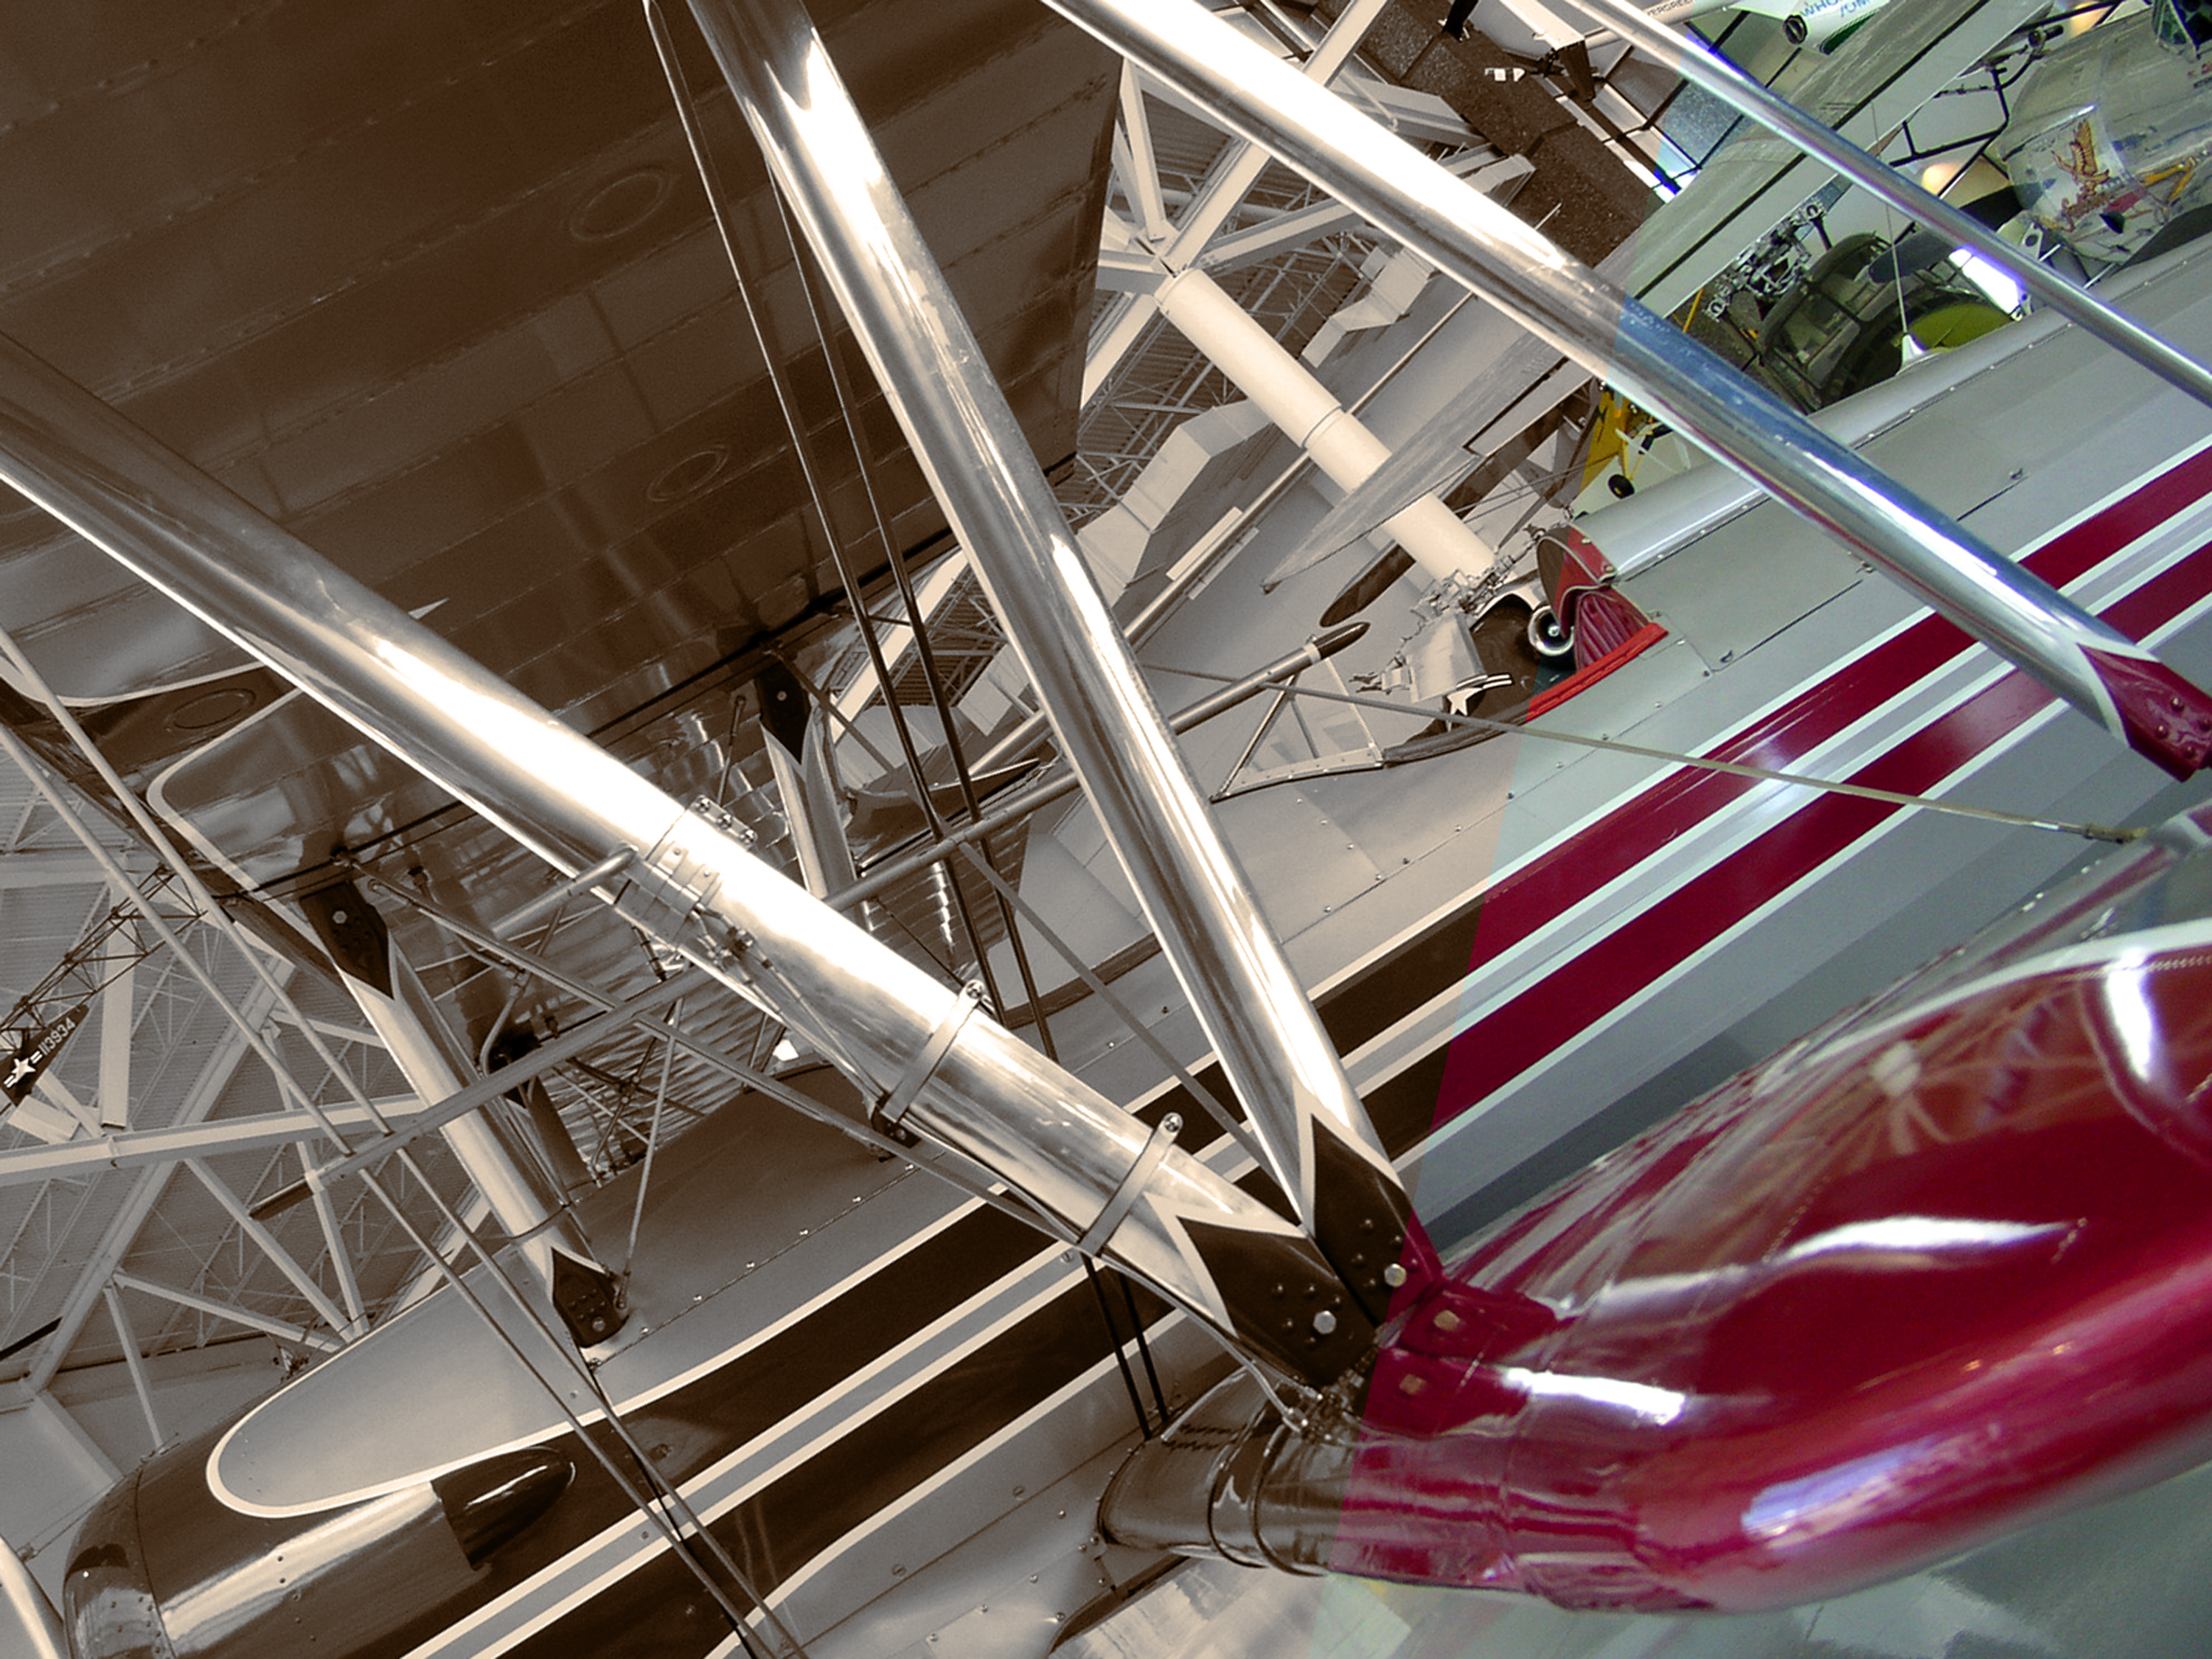
The Gradient Map is fun to work with, and can be used with any two colors, not just black and white. In the image of the bi-plane, it’s slightly sepia-toned. And, of course, you’ll find it in the usual place, as an adjustment layer. When the box pops open, you can find additional gradients by clicking on the small down arrow at the right end of the sample of the current gradient, then clicking on the gear icon and choosing from the alphabetical list at the bottom.
Trying out different tonalities with dual Hue/Sat adjustments.
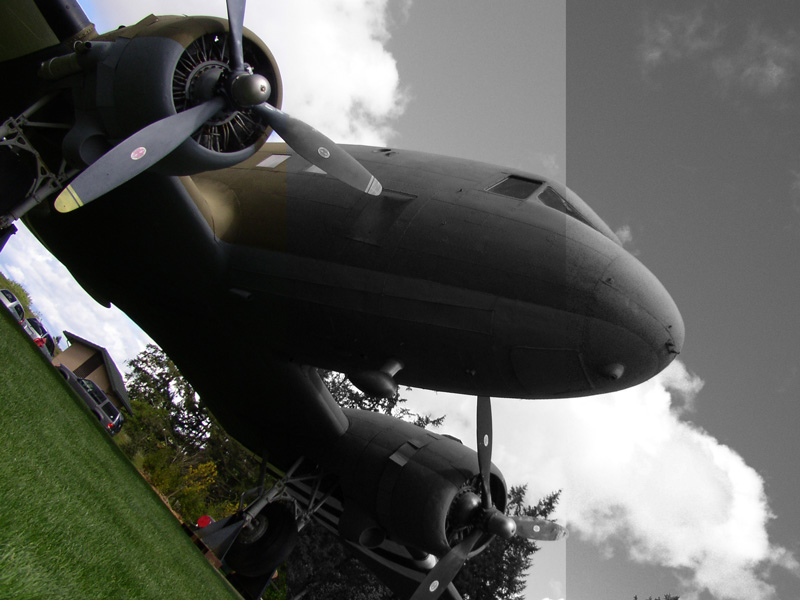
Another common technique is the Hue/Saturation adjustment, but here’s the cool part—instead of one adjustment layer, you’ll use two, since a single layer wouldn’t be much more exciting than simply converting the file’s color mode to greyscale. Get the two layers in there in the usual way, name them if you want to. Your topmost Hue/Sat layer is simply adjusted so the saturation is -100 (all the way to the left). The layer under that, the one that’s right above the image, has one special element to it—the layer’s blending mode is set to ‘color.’ The blending mode selector, in case you haven’t worked with that yet, is above your list of layers right next to the opacity selector. Its default is ‘normal.’ Once you’ve set that, you can move the Hue slider on that middle layer around and experiment with the tonality. You can adjust the saturation and lightness, too, but the magic is in the hue adjustment.
The good thing about all four of these methods is that the adjustments are all completely tweak-able until you flatten or save for web. Of course you’ll always exercise due diligence and talk to the folks who will be printing the piece to find out what kind of files they need. Any design is only as good as how well it prints. The good news is, they’re just as committed to the quality of the printed piece as you are, and will mostly be quite helpful.
Try some of these techniques on your next design project – perhaps a gorgeous custom corporate holiday card design that we can turn into a beautiful printed piece for you here at Cardphile (complete with envelopes so all you have to worry about is the design!)
Have questions about this or any of our other designs tips? Post them here and we’ll do our best to answer them for you.